
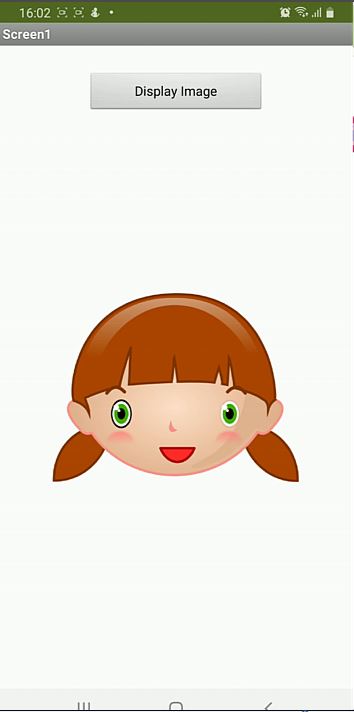
In App Inventor, create an interface with button and picture components.

In the blocks part, program the button so that when you click on it, an image saved in google drive is displayed.

- This image is called with a URL.
- To get this URL, go to Google Drive.
- Right click on the image, then click "Get Link".

- In the window that appears, change the visibility to "Anyone with the link".

- Click on "Copy link"
⤵️
https://drive.google.com/file/d/1MMPYYb3c0uSquGz6X9LLSgN05FbQAEF-/view?usp=sharing
Google Drive does not directly provide a URL that is properly linked to a file stored there, you have to change the shared URL yourself for the file to show or download it outside of Google Drive.
The URL links generated by Google Drive come in two variants:https://drive.google.com/file/d/ 1MMPYYb3c0uSquGz6X9LLSgN05FbQAEF- /view?usp=sharing
⏬
https://drive.google.com/file/d/ FileID /view?usp=sharing
OU
https://drive.google.com/open?id= 1MMPYYb3c0uSquGz6X9LLSgN05FbQAEF-
⏬
https://drive.google.com/open?id= FileID
The red string represents the image ID. It is a unique identifier
To create the new URL:
- Write: https://drive.google.com/uc?export=view&id=
OR
https://drive.google.com/uc?export=download&id=
- Then add the image ID:
https://drive.google.com/uc?export=view&id = FileID
The new URL obtained is:
https://drive.google.com/uc?export=view&id= 1MMPYYb3c0uSquGz6X9LLSgN05FbQAEF-
Now, instead of manually changing the URL, create a feature in App Inventor2 that performs this task.

Here's how to call this module you just created.


No comments:
Post a Comment